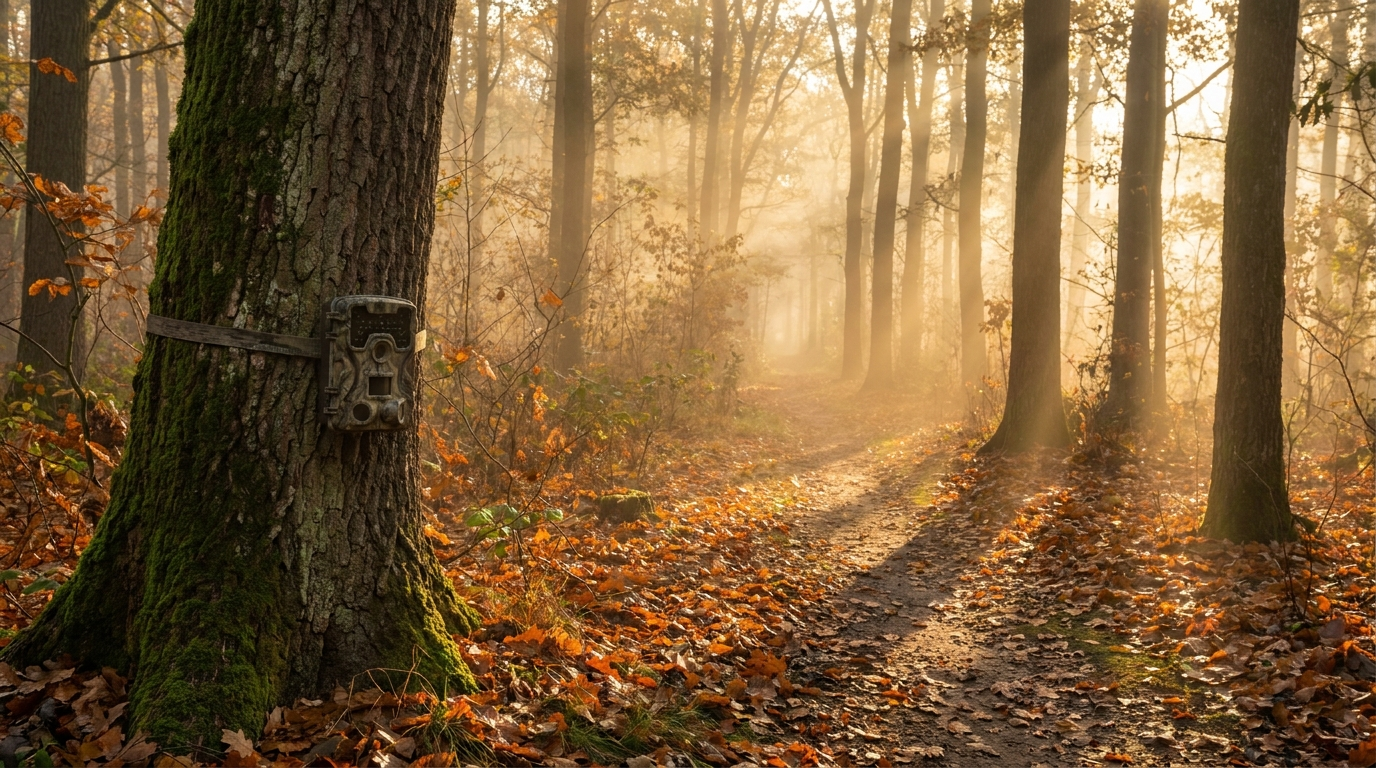
Every mature buck on your property knows you were at that camera. Not the camera itself — deer don't connect a plastic box on a tree with danger. They know you were there because you left a scent trail through the timber when you went to pull the card.
This is the trap: hunters set cameras in excellent spots and then undo the advantage every time they check them. By September's end, the best buck on the property is mostly nocturnal on that trail. You pull the card in November and there he is — every night at 11 p.m. You blame the rut pressure. It's usually not the rut pressure.
Trail cameras only work for you if the deer don't know you're running them. That takes scent discipline on every check, honest access planning, and more patience between pulls than feels comfortable.
Treat Every Check Like a Hunt Entry
Camera checks should have the same protocol as a stand sit: rubber boots, scent-eliminating spray on hands and clothes, and a planned route that avoids the shooting lanes around the camera.
Most hunters don't do this. They think of checking cameras as a different activity from hunting — something casual, quick. But a camera check deposits the same scent load as a full stand entry. You're walking through the same timber, leaving the same track, contaminating the same funnels.
Check on bad wind or right after rain when you can. Wet conditions suppress scent dispersal, and deer bed away from food during heavy rain, so your access is quieter. A midday check after a heavy overnight rain is about as low-impact as camera work gets.
Pull cards every 2-3 weeks in summer, not every week. From mid-October through November, only pull cards when you're already entering the area to hunt. Adding extra trips specifically to check cameras during the period when bucks are most active is a real cost — one most hunters underestimate until they start seeing 11 p.m. timestamps on every mature buck photo.
Height and Angle: The Numbers Actually Matter
The default setup is 3-4 feet off the ground, aimed straight down the trail. This puts the camera at deer eye level, angled directly at a deer's face as it approaches. It's workable on food plots where deer are relaxed and used to human disturbances. It's a bad setup anywhere near bedding or on trails where you think a mature buck is traveling.
Mount at 5-7 feet, angled downward 30-40 degrees. This keeps the housing out of a deer's direct focal range and produces full-body images rather than close-ups of nostrils. Angle the camera 45 degrees to the trail — not straight down it — so you're photographing deer as they move through the frame rather than staring back at the lens. Set the unit 15-20 feet off the trail itself.
On active scrapes, reverse the logic. Mount low — 18-24 inches — aimed level or slightly upward. Bucks work scrapes with their heads down, and at a licking branch you want face shots and rack photos, not back shots.
Camera facing matters more than people give it credit for. East-facing cameras blow out during morning deer movement. West-facing cameras blow out at evening. Both directions cost you images during the times deer are most active. Point cameras north or south when terrain gives you the choice.
Location Strategy by Season
Summer cameras belong on food sources — alfalfa, clover, soybeans, food plots — and the trails connecting those fields to bedding timber. Bucks are predictable and visible from late June through mid-August, packing on weight before velvet shed. This is when you inventory the property: set cameras on field edges, let them run three weeks, pull them, and see what's there.
September is when bucks start transitioning. They hit food less predictably as daylight shrinks. Move cameras to interior funnels — pinch points where ridges, creek drainages, marsh edges, or thick cover channels movement between bedding and feeding areas. A camera on a pinch point between two bedding areas will photograph bucks that never show on food plot cameras.
Mid-October changes things again. As soon as fresh scrapes appear — usually triggered by the first sustained cold nights — get cameras on active licking branches. Bucks work scrapes on a loose schedule before the rut breaks loose, and multiple bucks often hit the same branch. This is the best data-collection window of the year because deer are moving somewhat predictably and you're pointing cameras at a specific behavior rather than guessing at a random trail.
During peak rut, most camera data becomes noise. Bucks are covering ground, not following trails. Keep cameras running but put your attention into hunting rather than card-pulling.
Where Mobile Hunters Have an Access Advantage
Saddle hunters and mobile hang-and-hunt setups carry one underrated benefit on camera checks: you can approach from a different tree on every visit.
A fixed-stand hunter walks the same path to the same location every time. After a few checks, that access corridor is scent-contaminated on multiple tree trunks, at multiple heights, in a pattern deer recognize. A mobile hunter running Tethrd saddle gear or a similar kit can vary the approach line based on wind direction, using a different entry tree each time and keeping scent impact on the area unpredictable.
Build camera checks into your scouting entries — carry a card reader in your pack and pull cards while you're already in the area with full scent protocols, rather than making dedicated camera-only trips that cost you access events without returning a hunt.
Cellular vs. Standard: Use Both
Cellular cameras solve one specific problem: you can check them without going there. For any camera within 150 yards of bedding cover, that's significant. Eliminating the physical check eliminates the scent, the noise, and the access disruption. You see what's moving without spending an entry.
The tradeoffs are real. Cellular cameras generally have slower trigger speeds and shorter battery life than standard non-cellular cameras, plus monthly data costs. Signal can disappear in creek bottoms and heavy timber.
A practical setup for most properties: cellular cameras on bedding-edge and interior funnel locations where disturbance matters most, standard cameras on open food plots and field edges where deer tolerate more human activity. GardePro has been a solid value option for cellular coverage — a multi-camera pack like their X66 Pro covers multiple interior positions at a price that doesn't require selling a rifle to build a proper network.
For standard cameras on easier-access locations, pairing with a solar panel charger removes battery changes as a reason to visit. One less trip is one less contamination event.
Flash: 940nm vs. 850nm
940nm no-glow IR is invisible to deer and humans. No visible flash, no red pulse. The trade: night images are softer and darker than 850nm cameras, and detection range is shorter — 10-20 feet less depending on the unit.
850nm low-glow cameras produce a faint red pulse that's visible to humans and, at close range in pressured areas, sometimes noticed by mature bucks. Image quality and night detection distance are meaningfully better.
On food plots and open setups where deer are 40-plus feet from the camera: the better image quality from 850nm is worth the minor glow risk. On cameras within 30 feet of a licking branch, a tight funnel, or a bedding-area entry: go 940nm. A softer image costs less than a buck that's started hanging up 40 yards short of the camera because he's clocked the red pulse twice this October.
Mistakes That Cost Seasons
Clear the brush in front of the sensor before you walk away. Wind-blown limbs will fill a card with plant photos in days. A few minutes with pruning shears when you hang the camera saves hours of scrolling and means you don't miss detection events between genuine deer photos.
Don't run 10 cameras in a tight area thinking more coverage equals more data. More cameras means more check trips. Four cameras with clean, planned access beats eight cameras you can't service without bumping deer off the property.
Don't pull cards on a calm, clear October afternoon when bucks are on their feet and thermal scent holds in the timber for hours. If you have to check in good weather, midday between 10 and 2 is when deer movement is at its daily low — but even then, you're paying a price on scent.
Verify camera angles against sun position each season. A camera that was pointing north-northwest when you hung it in June may end up firing into direct sun by October after the earth has tilted. Worth checking when you do your first late-August pull.
What Cameras Are Actually For
Trail cameras are intelligence tools. Their job is to answer specific questions: what bucks are present, what trails are they using, when are they moving, and how does that shift across the season?
Hunters who treat cameras as a scoreboard — collecting pictures, getting excited about what's on the property — end up checking too often and placing cameras in spots that feel exciting rather than spots that actually answer questions. Hunters who consistently kill mature bucks tend to run fewer cameras in more deliberate spots, with intervals long enough that the deer forget they were there.
Earn your camera data the way you earn a deer: plan your access, run tight scent protocols, stay patient. Every extra trip you don't make is an advantage you're banking for November.
Browse current trail camera and hunting gear deals at Treestand Saver, and check the GardePro deals page if you're starting to build cellular coverage for interior bedding-area positions.